
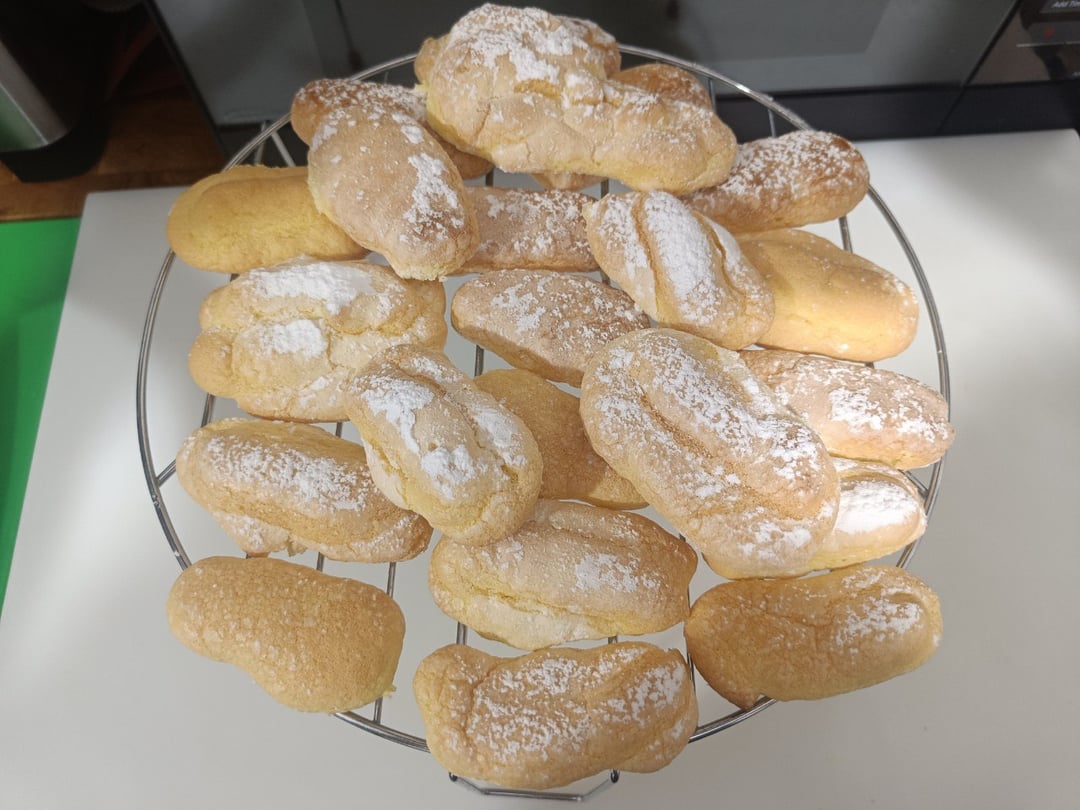
A recipe I made about a year ago but improved upon (although I overfilled the piping bag this time, so I wasn't able to make very precise shapes).
Ingredients
About 45g 3 egg yolks
About 69g 2 egg whites (you can freeze the remaining egg white) + a squeeze of lemon (it will be 2 grams… so very little, it's optional)
32g sugar for the egg whites
37g sugar for the yolks
56g 00 flour (make sure it has a low protein content (about 9%) and/or a low W content (about 170W)… I think in most countries it's called cake flour, here in Italy 00 is just how fine it is so there are 00 flour for pizza and 00 for cakes)
25g potato starch
For dusting
19g vanilla-flavored powdered sugar + 2 grams cornstarch (add it anyway, even if powdered sugar usually already has it, if your powedered sugar got no vanilla you can add a little bit to the egg whites and/or lemon or orange zest)
You'll get about 23-25 ladyfingers (if you can make them all more or less the same size, not like me XD).
Method
Prepare the baking pan with parchment paper (unlike other recipes, here we start with a cold baking pan, out of the oven).
Prepare the piping bag (close the bottom with a rubber band, place it in a long, narrow container like one used for an immersion blender, and open it ready to fill).
Prepare all the ingredients in advance (the mixture isn't very stable; if you delay too much, you'll end up with cat's tongues instead of ladyfingers).
Aerate the powders (flour and starch) well by sifting them a couple of times (if you dust it on two parchment paper it's easier to keep it sifted).
If your oven takes a long time to heat up, turn it on now.
Beat the egg whites; as soon as they've completely changed color from transparent to white, start adding the sugar.
Adding a drop of lemon juice will give you more time because it stabilizes the egg whites (I didn't do it this time, which is why I say it's optional. As you can see in the photo, the ladyfingers didn't flatten like cat's tongues; they stayed the right shape, even where I placed two strips one on top of the other (a thicker one underneath and a thinner one on top) and the two strips are still visible in the photo. So if you are quick you can avoid the lemon juice, use it if you got it and you want more time).
Whip with the sugar until you get stiff peaks.
Whip the egg yolks with the dedicated sugar. Here, we start from the beginning with the sugar already in the yolks.
Whip until the color is much whiter than at the beginning, the whisk vibrates, and the whisk, picking up part of the mixture, falls but not in a continuous stream.
If your oven is like mine (it reaches temperature in 5 minutes, turn it on here).
Incorporate alternating the egg whites and flours in 3 parts in the yolks.
Place the mixture in a piping bag.
Make your ladyfingers as neat as possible.
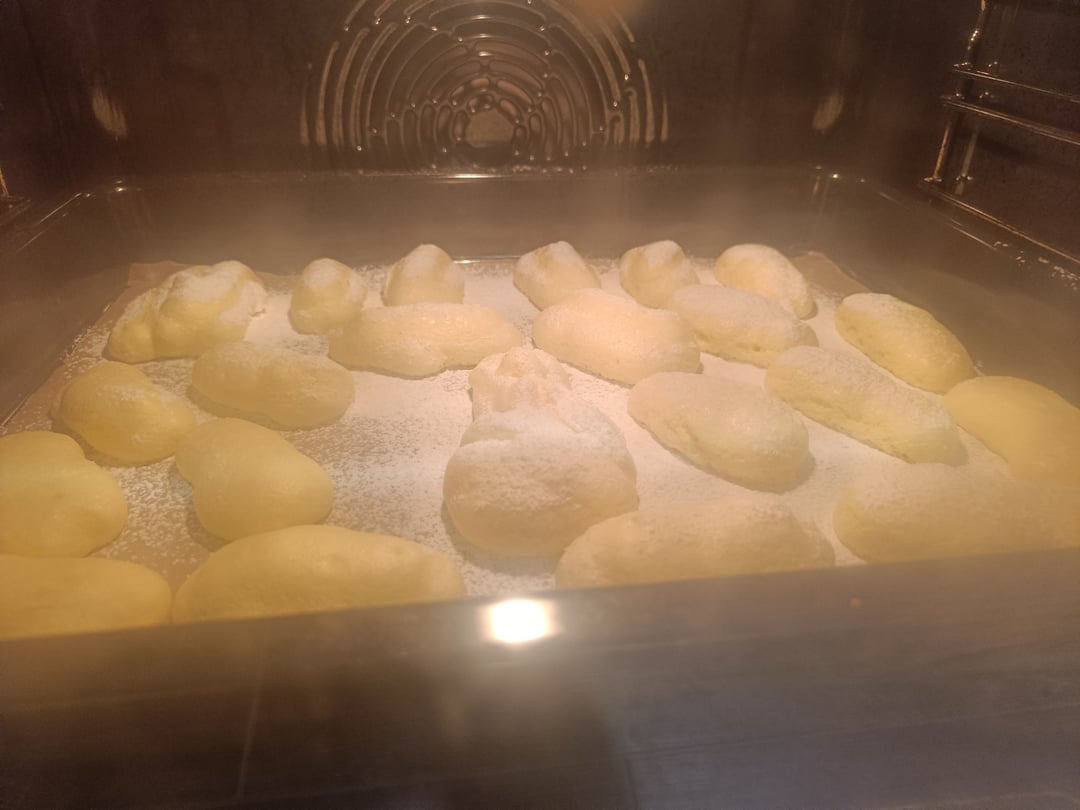
Dust them generously with powdered sugar (don't worry about sprinkling the parchment paper with powdered sugar).
Note: If you run out of powdered sugar, it doesn't matter; you don't have to cover them (it's optional), but the ones you do cover must be well covered (they will expand more).
Bake for 7 minutes at 200°C in a convection oven, with the baking sheet in the center (Place something to keep the oven door from drafting; for example, I strategically place a wooden spoon (just pinch it because if I put it too far in it would burn), others use a ball of foil).
Note: If you see the powdered sugar melting on the parchment paper (even shortly before 7 minutes), remove them immediately.
If the sugar caramelizes, it will become hard, and your ladyfingers will have defects (like mine last time).
The powdered sugar on the parchment paper is your indicator; if it just melted, it's still fine.
If you're really not sure they are ready, keep a long toothpick handy and prick the thickest one to see if it's already dry inside (since they're small, they should generally be cooked earlier).
Remove from the oven and let them cool for 5 minutes, then carefully remove them from the parchment paper (they'll still be a little soft, so if you press too hard you'll destroy them).
Let them cool… if you want them like the ones from the supermarket, put them back in the oven and they should dry out (I've never tried)… but they're so good like this it would be a shame (so good it's almost a shame to make them just for tiramisu).
It's generally recommended to make a lot of them because they last a long time, but keep in mind that the mixture has a limited stability and the piping bag can't be filled too full, and you can only use one pan at a time (doing two risks uneven baking). It's better to make about 20 cookies at a time and bake them all well than to make three times as many and have the last 20 flat, like cat's tongues, and maybe even oddly shaped because, like what happened to me this time, you overfilled the piping bag.
Tomorrow, of course, I'll make a tiramisu with them.
by LiefLayer
Dining and Cooking