

While I was on a roll with the oven, I decided yo make on of the best desserts for meal prep: medovik! Much like the humble chili con carne, medovik is great to make ahead because it only gets better with time spent in the refrigerator! I largely made the cake based off this recipe with some adjustments and added commentary based off my own experience making it:
INGREDIENTS
DOUGH
• 6 cups (or 720 grams) flour
• 1 cup (or 2 sticks for Americans east of the Rockies) butter
• 1.5 cup white sugar
• 0.5 cup honey
• 4 teaspons baking soda
• 4 eggs
- In a large pot, melt the butter as gently as possible, not allowing it to get hot
- Turn off heat and add sugar, mixing until well combined
- Add honey, baking soda, and eggs, mixing until combined (do these only after the sugar has been fully mixed in, otherwise the sugar will dissolve weirdly and the end cake will be a bit grainy)
- Turn the heat back on to medium low and let the mixture cook until a deep amber color. The mixture should become noticeably larger. (try to mix as little as possible, and lightly if you must. What little fluff this cake has, much of it is from air that will be trapped in this mixture. Aggressive stirring will beat it out.)
- Turn the heat off, add the flour, and stir as aggressively as possible with something like a wooden spoon. Keep stirring until there are no more noticeable clumps of flour.
- Transfer the dough to a bowl and allow to cool
- Set oven to 350⁰ F (180⁰ C) (you can do this earlier. I do this at this step to save on gas)
- On a floured surface, place a ball of dough roughly the size of a mature obese chihuahua dog (someone please suggest a better unit. I am really bad at estimating size in terms of actual units)
- Roll with a rolling pin until the very edges of the dough are translucent
- Cut out rounds with an appropriately sized cutter (in my case, a standard pint glass). Depending on preference, you can bake the scraps for decorative crumbs or recycle the scraps to make more cakes.
- Place rounds onto a parchment lined baking sheet
- Bake for about 6 minutes or until the round have become a deep golden brown (the time this takes can vary wildly from oven to oven. The one I used tends to run a bit cold)
- Put rounds to cool on a wire rack
- Repeat steps 8-13 until dough is fully used
FROSTING
• 1.5 cups heavy cream (I slightly reduced this one from the base recipe to create a thicker frosting, which is to my taste)
• 0.25 cups powdered sugar
• 8 Oz softened cream cheese
• 14 Oz sweetened condensed milk (this one has a lot of wiggle room. This is just the size of 1 can where I'm from, and I can't use partial cans)
• 24 Oz sour cream (again, wiggle room)
• Vanilla extract to your heart's content (2 teaspoons for the cautious)
- By whatever means you have, whip the cream and powdered sugar until soft peaks. Set aside.
- In a large bowl, mix cream cheese and condensed milk until homogeneous
- Add the sour cream and vanilla and mix until homogenous
- Gently fold the whipped cream into this mixture, careful to not beat the air out while homogenizing
ASSEMBLY
1. 1 layer frosting
2. 1 layer cake
3. Repeat til your desired height and then top with more frosting. I opted for 4 layers of cake per cake.
4. Frosting the sides. Be careful as you do this, as the layers have a tendency to slide off eachother at this stage.
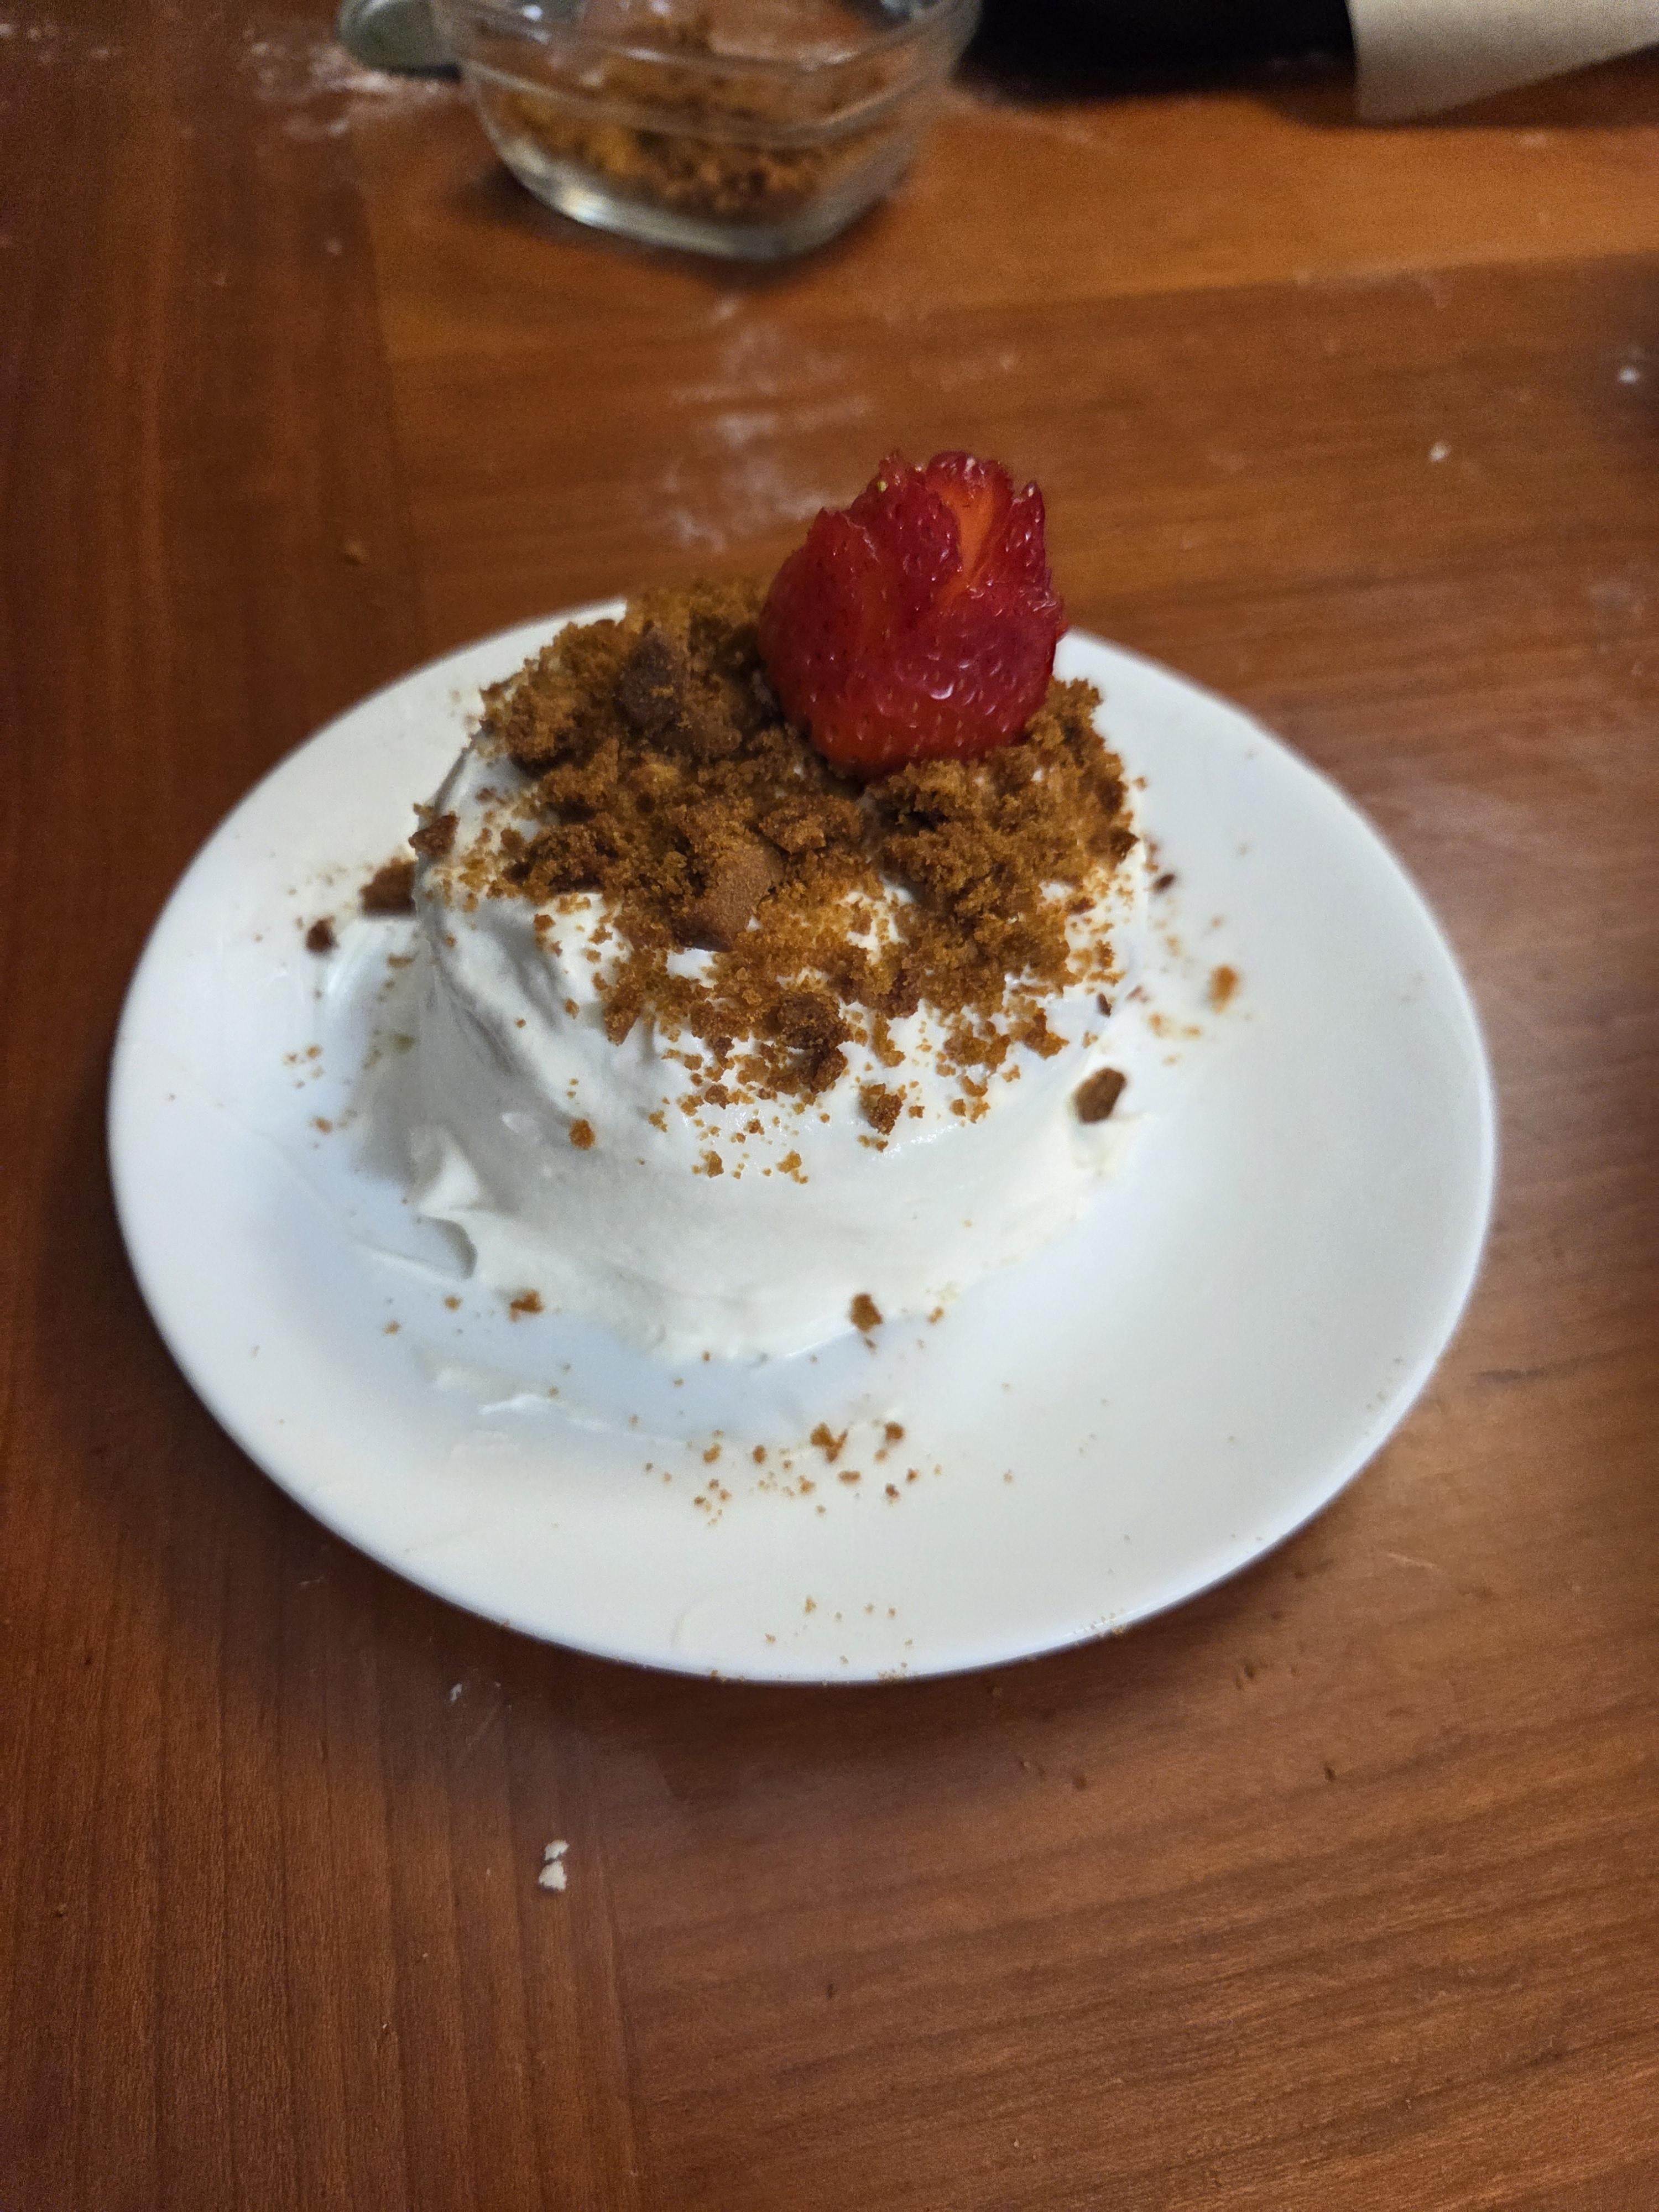
5. Garnish. It's traditional to coat the cake in the crumbs of the scrap, but you can do whatever you like so long as it makes it prettier/tastier. I put a strawberry rose on my first one!
These can technically be eaten immediately, but for best results, leave em covered in the fridge for a while. Flavor and texture will peak after about 2 days. Assuming a 4 layer cake, recipe makes 12 servings. Enjoy!
by Gurfad
2 Comments
Looks absolutely delicious!! Nice job
‘Mature obese Chihuahua dog”- amazing and hilarious