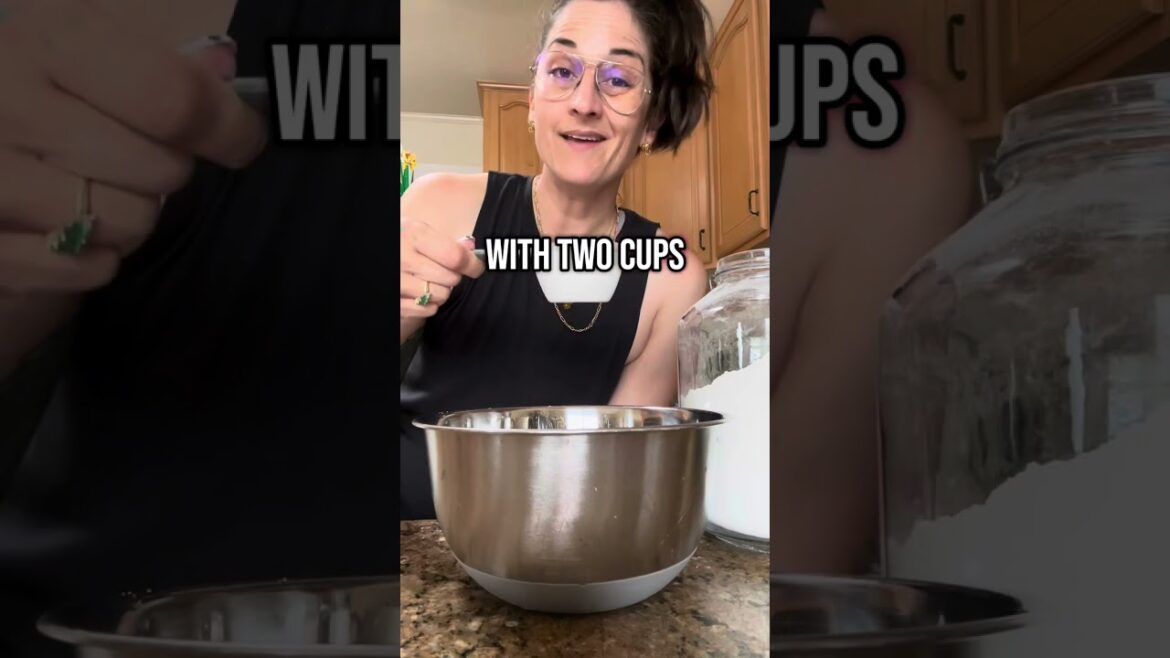
Crusty, airy Dutch oven French bread that’s so good you’ll want to make it every day. Husband keeps adding slices to dinner 🙂
Recipe from @lifeasastrawberry ❤️
Ingredients
2 ¼ teaspoons active dry yeast (9 grams)
1 teaspoon sugar (4 grams) (use honey if you prefer)
1 ¼ cups warm water (300 grams)
1 ¼ teaspoons (8 grams) kosher salt
2 ½ to 3 ½ cups All-Purpose Flour (400 grams) plus extra for dusting (see recipe notes)
Temp – 425F for lighter crust and 460F for darker crust
#frenchbreadrecipe #dutchovenbread #breadtutorial #breadforbeginners
She is beauty. She is grace. And I’m going to show you how to do it real easy. Big ass bowl. 2 and 1/4 teaspoon of yeast. Exactly one packet. For those of you about to ask, no, you cannot use baking soda for this recipe. Now, we need 1 and 1/4 cups warm water. What does warm mean? When I stick my fingy in, it doesn’t burn. Mine does burn, so I know it’s too hot. I’m going to put in a little bit more cold water. We don’t want to flambeay our yeasty friends. So, that’s why we got to keep an eye on the temperature. Teaspoon sugar for our yeasty friends to go. Yeah. not so much food as jet fuel. I’m using instant yeast, so I’m going to go to the next step. If you are using active dry, go ahead and wait 5 minutes. It just needs a little bit of time to vibe and get bubbly. Now, friends, if your yeast doesn’t do anything, it doesn’t smell like a dying bar and it doesn’t bubble, here are the questions you’re going to ask yourself. Do I store my yeast in the fridge or in the freezer? If yes, keep going. If no, start storing your yeast there. That’s where they like to live. Question number two, did I check the temperature of the water? Yes, no, maybe. Is it really hot? Probably kill them. Is it really cold? It’s like us and we get in a cold lake and just don’t want to do much. This recipe can handle up to 3 and 1/2 cups of flour. But for the people in the back, we are going to start with two cups because when you scoop this, depending on how you scoop it, you might be getting 100 g of flour in this cup or you’re getting 80 and that can add up. Start with low and work our way up. If you have a scale, love that for you. You want 400 g of flour. Take your favorite wooden spoon or spatula. Give it 20 stirs. Tada. Let’s add a teaspoon and a 1/4 of salt before we add any more flour. Going to do 10 spatulates. Today it’s a spoon chillette. A scoop from the bottom. Smush. This is too goopy. Add 1/4 cup of flour. Five spatulates. Scoop. Go around the bowl. Give it a little scrape and do five more spatula. Still kind of goopy at the top there. So, I added another 1/4 cup of flour. My number one tip for bakers, less is more. After about 20 spatulas, she’s not goopy. She’s not flowing like a lava flow. The one thing we want to make sure is that there’s no dry patches. Let sit for an hour to hour and a half until she doubles in size. An hour later, she has grown and is ready to be shaped. Thus, we have a clean surface that I immediately give a little sprinklage of kitchen lube to. Just enough to say, “Ah, it snowed.” We’re just going to gently coax her out of her home. Kind of pawing at her. Now, we’re going to give this beauty shape in two ways. Numero uno. Fold the edges into the center. You’re not going to press down. You’re not going to smush. You’re just going to gently suggest. Flip her over. Take your hands. You’re going to make a little fence. You’re going to pull her towards you like this. Going to lift. Turn. You’re going to do that four times. This helps create tension in a really delicious crust. Bowl. Clean towel. To keep this from sticking, we bring in the lube. Like I said, seam side, which is the bottom, down. Cover. Let sit for another 30 to 45 minutes. About 45 minutes, she’s risen again. She looks gorge. Now it’s time for her to get a real tan. If you like a really thick crust, preheat your Dutch oven with your oven and then chuck the bread in. If you’re like me and like a more delicate bottom crust. This is cold. The seams will kind of be like cracks and it will look really cool. Cover. Bake for 30 minutes. Then check on it. Mine needs more time. I’m going to leave it open for 15 minutes. Yum town population you. For storage, I recommend pre-slicing, chucking it into a freezer safe bag, and then either storing on your counter for a couple days or putting it straight in the freezer. Doing it in the toaster goes wicked.


Dining and Cooking