
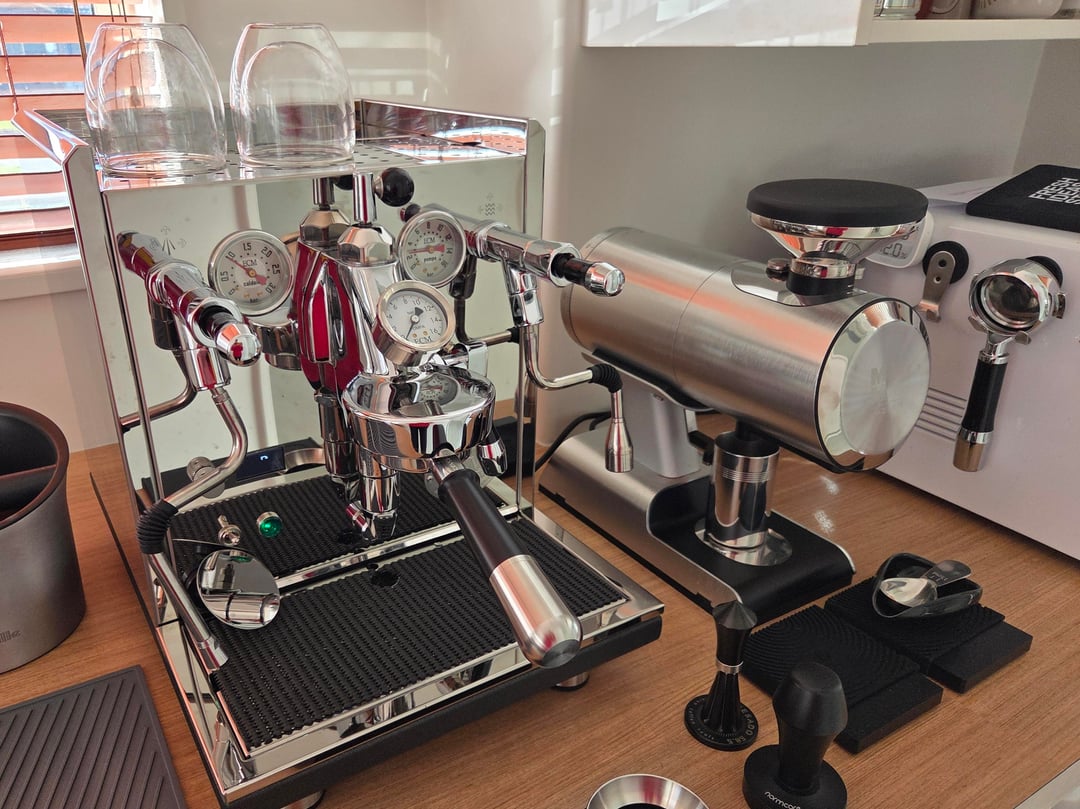
I have plumed my Synchronika II coffee machine recently and while it's still fresh in my mind I decided to put together a quick guide. It's based on my personal experience and since I'm based in New Zealand I had limited choices for the filters and it was harder to source the right parts (there's a spreadsheet below which might be useful for someone).
There were two main goals I wanted to achieve with this:
- Convenience (no need to use the water tank and empty the drip tray)
- Minimize or avoid limescale to prolong the life of the machine
I settled in a filter / softener as it's most economical option. Plus the water in my area is on the softer side I didn't need any more sophisticated options.
Here's the breakdown of the process:
- Choosing the right water filter / softener
- Plumbing in water
- Plumbing out to a waste drain
Choosing the right water filter / softener
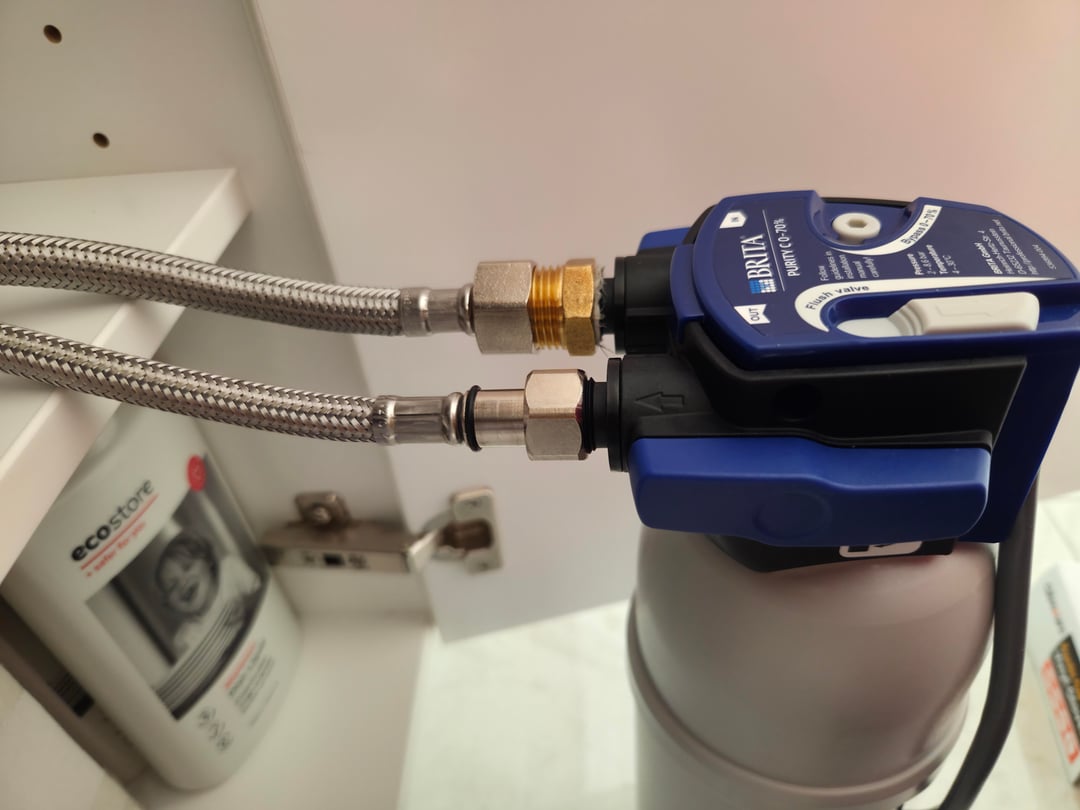
I already have a two-stage filtration system (sediment filter and carbon cartridge) installed for the hole house so I only needed to address water hardness to prevent limescale buildup in the coffee machine. The two key factors that contribute to limescale formation are general/permanent hardness (GH) and temporary/alkaline hardness (KH). There's a useful table on page 4 (section E) in the Jim Schulman's Water FAQ that lists maximum hardness levels by temperature. To establish the baseline, I tested my water using the API GH & KH test kit typically used for aquariums. I was specifically looking for a conventional cation exchange softener rather than a decarbonizer, as I wanted to keep the pH and alkalinity of the water the same and focus only on reducing GH. I ultimately chose the Brita system with the C150 Finest filter. I also considered Everpure, but since it's a North American system, getting appropriate adapters would have been more complicated. Additionally, the only Everpure filters available in New Zealand were decarbonizers and the filter head does not support water bypass, when Brita does.
Plumbing it water
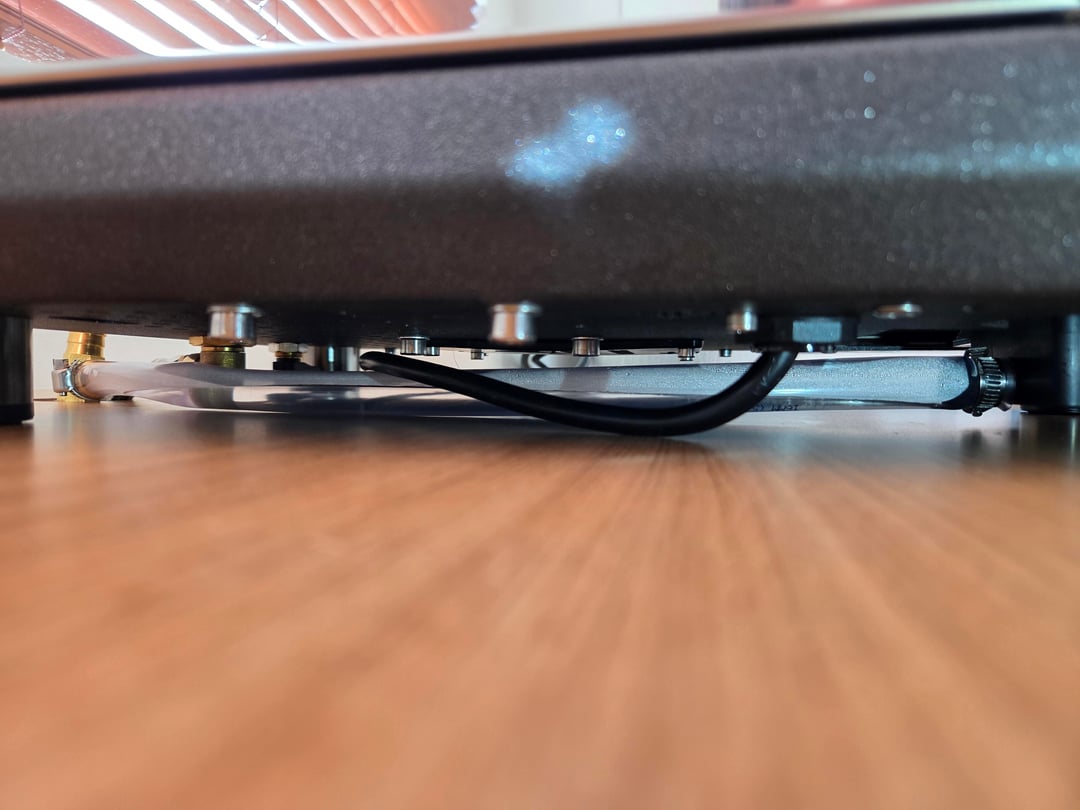
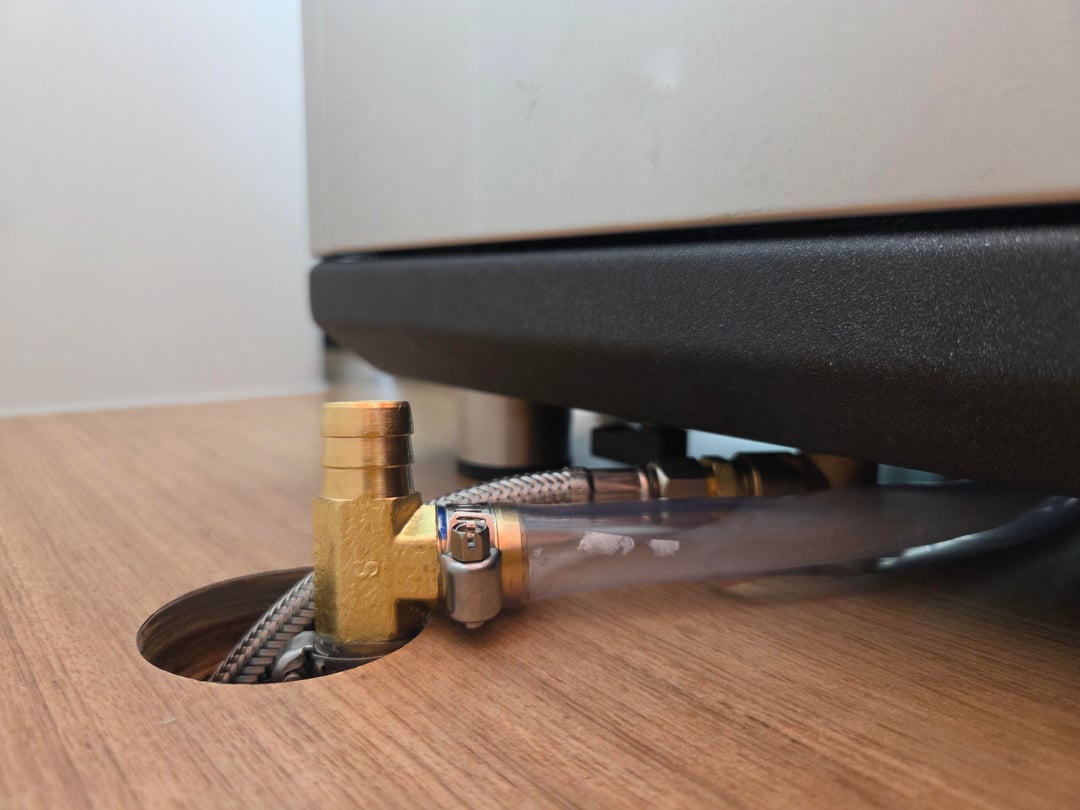
The coffee machine is located in my pantry next to the sink, so the piping was already in place. All I needed was a tee fitting and a ball valve for the coffee machine line. ECM recommends feeding 2 bars of pressure into the machine to reduce stress on internal components, so I also had to get a pressure reducing valve. I also needed flexi hoses, nipples, adapters, and tape for connections without washers. I opted for Loctite 55 thread sealant instead of Teflon tape as it’s easier to use and allows for 45 degree adjustment after installation. I also purchased a hole saw to drill two necessary openings. The whole process took around a couple of hours, but couldn't been done way quicker by someone more experienced. After doing a couple of rounds of GH testing I settled on 30% bypass.
Plumbing out to a waste drain
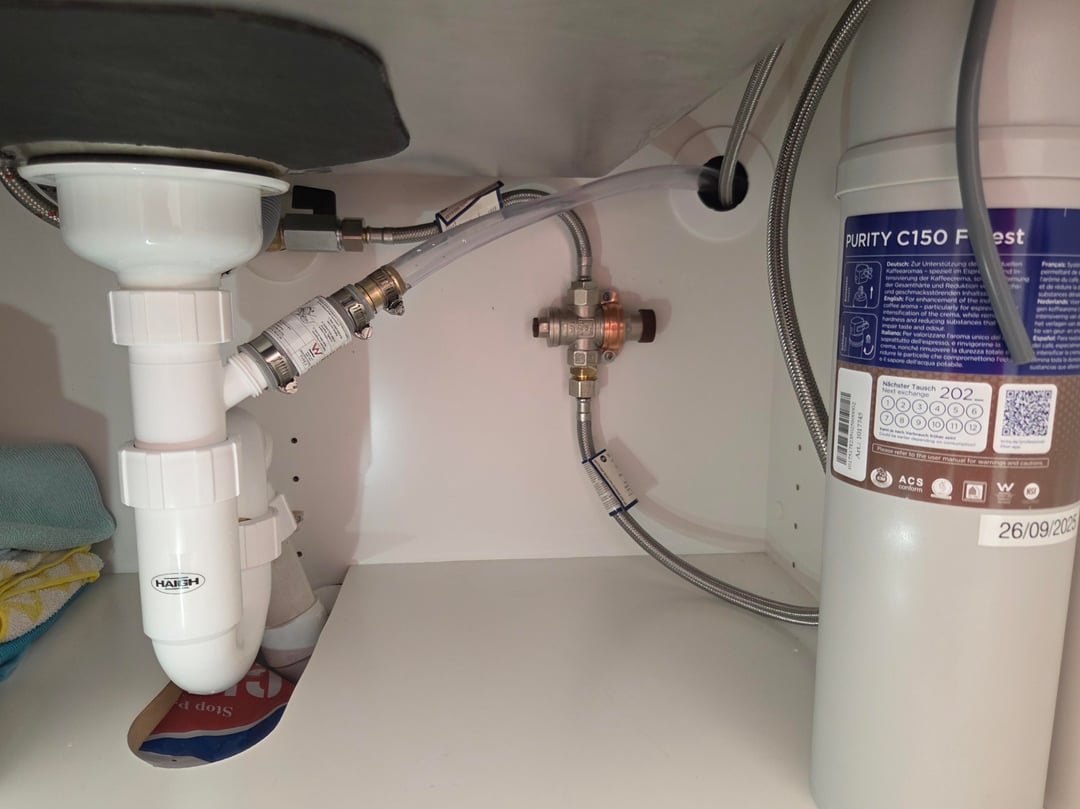
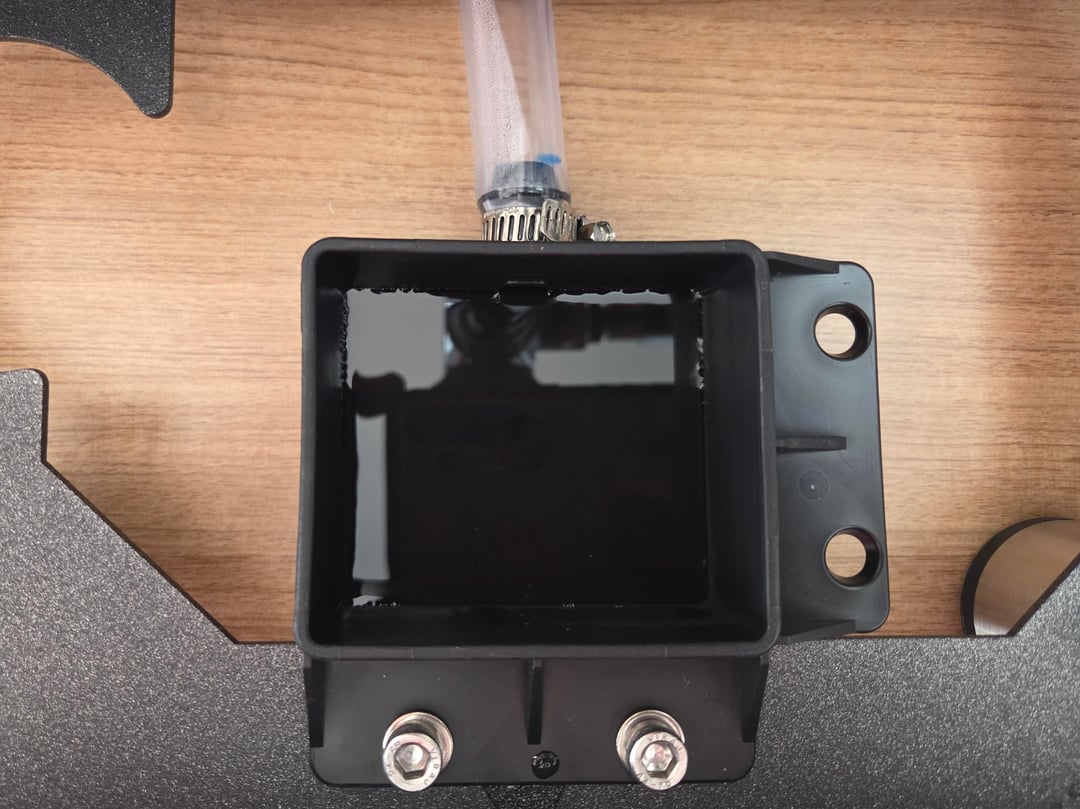
For drainage, I replaced the S-trap under the sink with the one that includes a dishwasher spout, so I could to tap into it. I used a 16mm clear vinyl tube, a 15mm to 20mm adapter and hose clamps to connect everything together. To prevent air from getting trapped in the system, I added a tee to create a vent for the drain line which sits behind the machine. The drainage took me similar time, mainly due to cutting the tubes more until I removed the sag from the lines.
Hopefully this guide will be useful for someone, here's the full list of parts I used for the installation:
| + | A | B | C | D |
|---|---|---|---|---|
| 1 | SPK Tee 15mm Brass | 15.58 | 1 | 15.58 |
| 2 | SPK Nipple 15mm Brass | 4.13 | 3 | 12.39 |
| 3 | RuB s.35 Mini Brass Ball Valve 15mm BSPP | 11.39 | 1 | 11.39 |
| 4 | SPK Flexi Hose 15 x 250mm Stainless Steel | 10.25 | 1 | 10.25 |
| 5 | SPK Copper Saddle 25mm Copper | 9.39 | 1 | 9.39 |
| 6 | ITap Style361- Water Pressure Reducing Valve 15mm | 71.53 | 1 | 71.53 |
| 7 | SPK Flexi Hose 15 x 800mm Stainless Steel | 18.65 | 1 | 18.65 |
| 8 | Bush Reducing BR 32240806 1/2" x 3/8" | 7.45 | 1 | 7.45 |
| 9 | BRITA PURITY C Filter Head | 78.9 | 1 | 78.9 |
| 10 | Brita Purity C150 Finest Water Filter | 143.9 | 1 | 143.9 |
| 11 | LOCTITE 55 Thread Sealant Cord 160m | 55.09 | 1 | 55.09 |
| 12 | Bosch Multi Material Holesaw Starter Set 51mm | 48.99 | 1 | 48.99 |
| 13 | API GH & KH Test Kit | 33.2 | 1 | 33.2 |
| 14 | Total plumbing | 516.71 | ||
| 15 | ||||
| 16 | Drainage | Price, NZD | Quantity | Price, NZD |
| 17 | Wetta Hose Clamp 10-20mm | 15.81 | 1 | 15.81 |
| 18 | Wetta Clear Vinyl Tube 16mm 2m | 6.14 | 2 | 12.28 |
| 19 | Aqualine Telescopic Dishwasher Trap 40mm | 20.4 | 1 | 20.4 |
| 20 | Joiner airline 16mm hosetails | 11.05 | 1 | 11.05 |
| 21 | Dux Coupling Connector 18mm to 23mm | 14.08 | 1 | 14.08 |
| 22 | Champion Brass Pack T Piece HC13, 5/8" | 13.5 | 1 | 13.5 |
| 23 | Total drainage | 87.12 | ||
by k1wi0
2 Comments
God bless your beautiful soul! I have this set up and have pushed off plumbing but saving this when I start the project

Very cool! Thanks for the BOM!
Good on you for fixing the S trap situation. Hope it gives you years of reliable, on demand at home espresso!