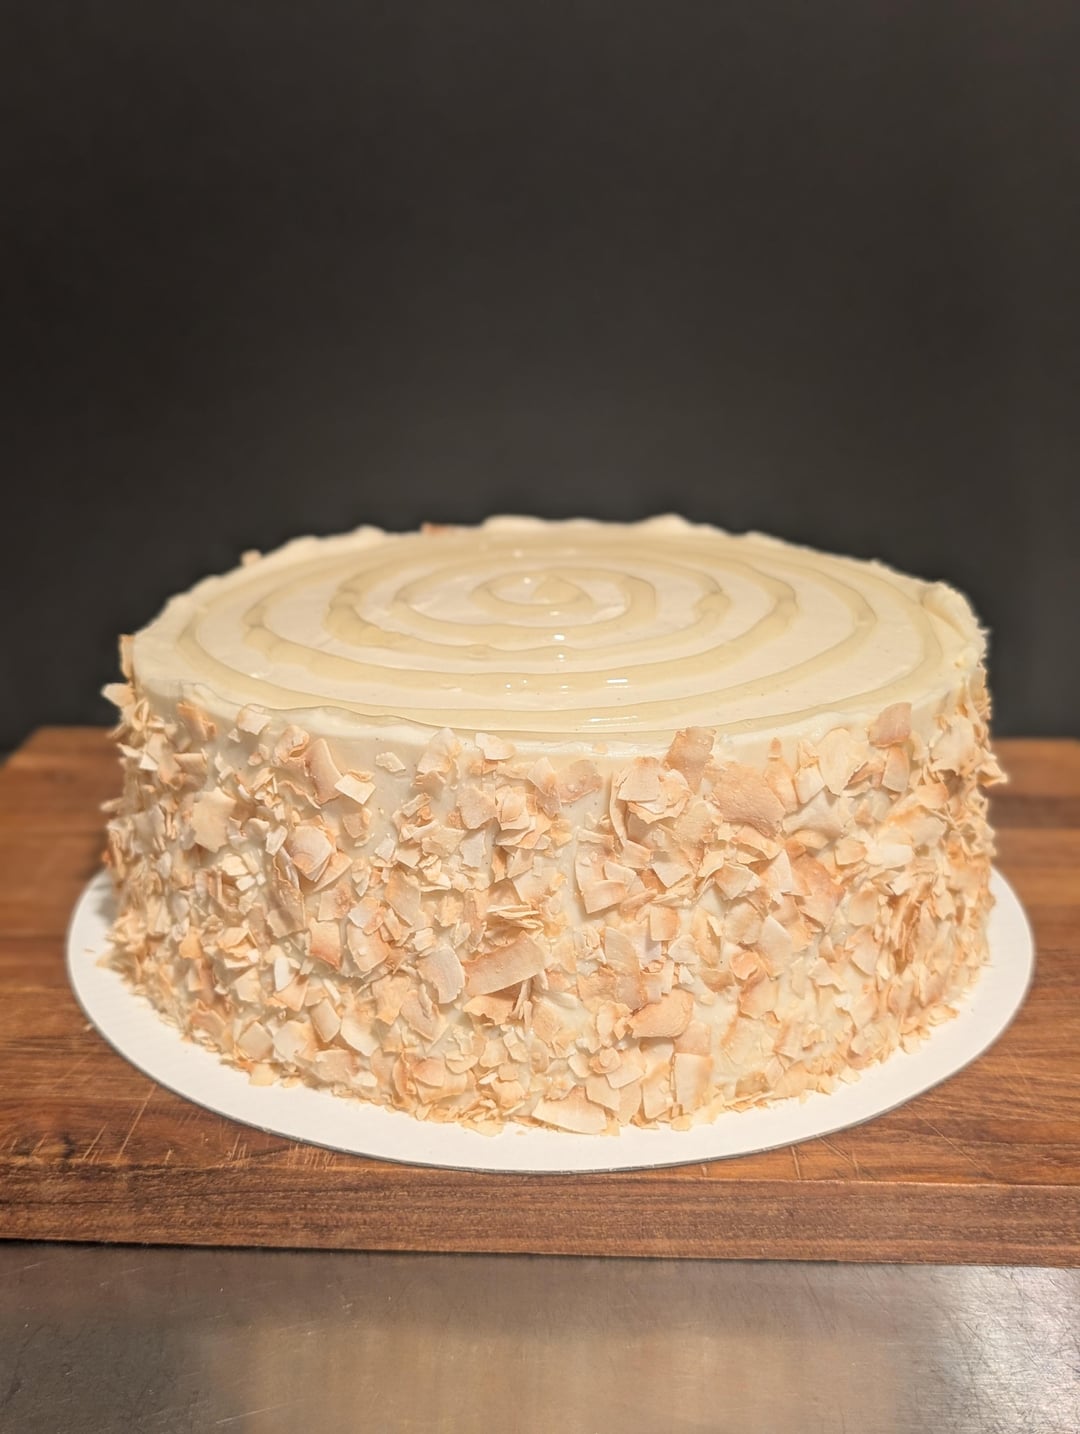
Windmill Cake (Pineapple & Coconut)
This recipe is my rendition of a "Windmill Cake" conceptualized by u/parodi3 on r/Baking recently. The original concept was for a cake featured in a comic set in 1870s France: a luxury item described as being "worth killing a duchess over." While the original post suggested a vanilla-coconut cake with pineapple jam, I have interpreted the concept as a multi-component, expensive, labor-intensive, French-style layer cake. Something worth killing someone over. The flavor profile is tropical; I wanted to elevate the flavors of pineapple and coconut using various aromatics. I’m pretty sure cream cheese as we know it was actually invented in the 1870s, so a really resourceful Frenchman could possibly find this ingredient.
Yield: One 8-inch (20 cm) cake
1. Cardamom Genoise
Ingredients
| Ingredient | Amount | Notes |
|---|
| Whole Eggs | 300g | Room temperature (approx. 6 large eggs) |
| Granulated Sugar | 136g | |
| All-Purpose Flour | 96g | |
| Cornstarch | 48g | |
| Unsalted Butter | 61g | Melted (see step 4) |
| Cardamom Extract | 4g | |
Procedure
- Preheat oven to 350°F (177°C). Line the bottom of a tall 8-inch (20 cm) cake pan with parchment paper; do not grease the sides.
- Sift the flour and cornstarch together four to five times.
- Combine eggs and sugar. Whisk on the highest speed for 5 minutes until almost white and shiny. Reduce to medium speed for 3 minutes, then finish on low speed for 10 minutes to stabilize the bubble structure. The foam should be at the ribbon stage.
- While the egg foam is stabilizing, melt the butter, targeting a temperature of 122°F (50°C). Stir the cardamom extract into the butter.
- Sift the dry ingredients one final time over the egg foam in 2–3 stages. Fold gently using a "D" shape motion.
- Whisk 2–3 tablespoons of the flour/egg mixture into the melted cardamom butter until emulsified.
- Fold the liaison batter back into the main bowl in one go until just combined.
- Immediately pour into the pan. Drop the pan twice from 8–12 inches (20–30 cm) to burst large air pockets. Bake for 25–30 minutes until a knife or tester comes out clean. The center should register 190°F (88°C).
- Immediately drop the pan twice again from 8–12 inches (20–30 cm) upon removal. Invert onto a cooling rack and allow to cool completely in the pan. Torte the sponge into 3 even layers.
2. Coconut Mousseline
Ingredients
| Ingredient | Amount | Notes |
|---|
| Whole Milk | 228g | |
| Full-Fat Coconut Milk | 383g | One 13.5oz can, reduced to ~240g (1 cup) |
| Granulated Sugar | 100g | |
| Cornstarch | 30g | |
| Egg Yolks | 80g | Approx. 5 large yolks |
| Virgin Coconut Oil | 55g | Replaces butter in the pastry cream base |
| Kosher Salt | 2g | |
| Vanilla Bean Paste | 6g | |
| Mousseline Finish | | |
| Prepared Pastry Cream | 270g | Chilled |
| Unsalted Butter | 140g | Softened to room temperature |
Procedure
- Simmer the canned coconut milk over medium heat until reduced to 240g (15–20 minutes).
- Combine the whole milk and salt in a saucepan. Heat until steaming.
- Whisk sugar, cornstarch, and yolks until pale and thick.
- Slowly stream half of the hot milk into the egg mixture while whisking constantly. Return all to the saucepan.
- Whisk over medium heat until thick and bubbling. Cook for 1–2 minutes more, whisking vigorously, after the first thick bubbles pop to fully activate the starch.
- Remove from heat, strain through a fine sieve, and whisk in coconut oil and vanilla. Chill with plastic wrap on the surface for at least 4 hours.
- Whisk 270g of the chilled pastry cream until smooth. Add 140g softened butter bit by bit, whipping at medium-high speed until a rich, aerated cream forms.
3. Pineapple & Star Anise Jelly
Ingredients
| Ingredient | Amount | Notes |
|---|
| Pineapple Juice | 373g | |
| Granulated Sugar | 466g | |
| Lemon Juice | 31g | |
| Pectin | 26g | Sure-Jell Standard pectin (Yellow box) |
| Whole Star Anise | 3 pieces | |
Procedure
- Combine juice, star anise, lemon juice, and pectin. Bring to a full rolling boil (one that does not stop boiling when stirred). Ensure the mixture reaches at least 176°F (80°C) to deactivate the bromelain in the pineapple.
- Add sugar all at once. Stir and return to a full rolling boil.
- Boil vigorously for exactly 60 seconds. Remove from heat and discard star anise.
- Pour into two level 8-inch (20 cm) pans lined with parchment or a silicone mat.
- Once set, unmold and cut with a cake ring to the precise diameter required for the internal layers. Store in the freezer until assembly.
4. Pineapple-Ginger-Lemongrass Syrup (Soak)
Ingredients
| Ingredient | Amount | Notes |
|---|
| Fresh Pineapple Juice | 120g | |
| Water | 50g | |
| Caster Sugar | 60g | |
| Honey | 35g | |
| Lemongrass | 1 stalk | Bruised |
| Fresh Ginger | 4g | Sliced |
| Kaffir Lime Leaf | 0.5 leaf | Optional |
| Salt | 0.1g | Pinch |
Procedure
- Simmer pineapple juice until reduced by 25% (target weight: 90g).
- Add water, sugar, and honey; simmer until dissolved.
- Remove from heat, add aromatics, and steep 15–20 minutes covered.
- Strain and use while warm.
5. Cream Cheese Frosting
Ingredients
| Ingredient | Amount | Notes |
|---|
| Unsalted Butter | 113.5g | Room temperature |
| Full-Fat Cream Cheese | 227g | Room temperature |
| Powdered Sugar | 227g | Sifted |
| Kosher Salt | 1g | |
| Vanilla Extract | 4g | |
Procedure
- Beat butter and cream cheese on medium-high until completely smooth.
- Add salt and powdered sugar. Pulse on low to incorporate, then beat on medium-high until light and thick (approx. 1 minute).
- Beat in vanilla.
6. Toasted Coconut
Ingredients
| Ingredient | Amount | Notes |
|---|
| Coconut Flakes | 100g | Unsweetened |
Procedure
- Heat in the oven at 350°F (177°C) for approximately 5 minutes.
- Toast until they are deep golden brown but still pale along one edge for a visual gradient.
- Let cool completely before applying to the cake.
Assembly Instructions
- Torte the cardamom genoise into 3 even layers.
- Set an 8-inch (20 cm) cake ring on a flat surface and line it with acetate strips.
- Place the first sponge layer at the bottom.
- Apply the Pineapple-Ginger-Lemongrass soak, then spread on half of the Coconut Mousseline. Center a frozen Pineapple Jelly disc on top.
- Place the second sponge and repeat the sequence (Soak -> Mousseline -> Jelly disc).
- Place the final sponge layer and apply the soak.
- Chill the cake in the ring until structurally sound.
- Remove the ring and acetate. Apply a thin crumb coat of cream cheese frosting and chill again.
- Apply the remaining frosting evenly over the top and sides. Chill to set.
- Coat the sides of the cake with the toasted coconut flakes. Decorate the top with additional toasted coconut or pipe a design using any leftover pineapple jelly.
Serving & Storage
- Advance Prep: This cake can be fully prepared 1–2 days in advance and stored in the refrigerator.
- Service: For the best flavor and texture, let the cake sit out and return to room temperature before serving.
- Slicing: For clean, professional slices, cut the cake while it is still cold using a sharp knife dipped in hot water (and wiped dry) between each cut.
Technical Notes
- When folding flour into the egg foam, I like to use my stand mixer’s beater attachment as a hand tool.
- If you don’t like American-style buttercream, you can use the leftover coconut pastry cream instead of powdered sugar to make a German-style frosting. Beat the cream cheese and butter until smooth, then add 350g of coconut pastry cream a few tablespoons at a time while whisking on medium-high. Reference: Serious Eats Cream Cheese Buttercream
- You can use plastic wrap to handle the jelly discs during assembly to prevent tearing.
- Use a 7-inch (18 cm) silicone mold for the discs if you have one to ensure perfect uniformity.
That's it! Let me know if you have any thoughts, questions or suggestions. I encourage you to give a multi-component cake like this one a try if you're looking for a fun baking project. As a person with a full-time job who only bakes as a hobby, it took me 3 evenings to put this together.
by BakerBunearyBella

5 Comments
ohhh this is gorgeousssss!!! 3 evenings?!? i bet it was soo worth it
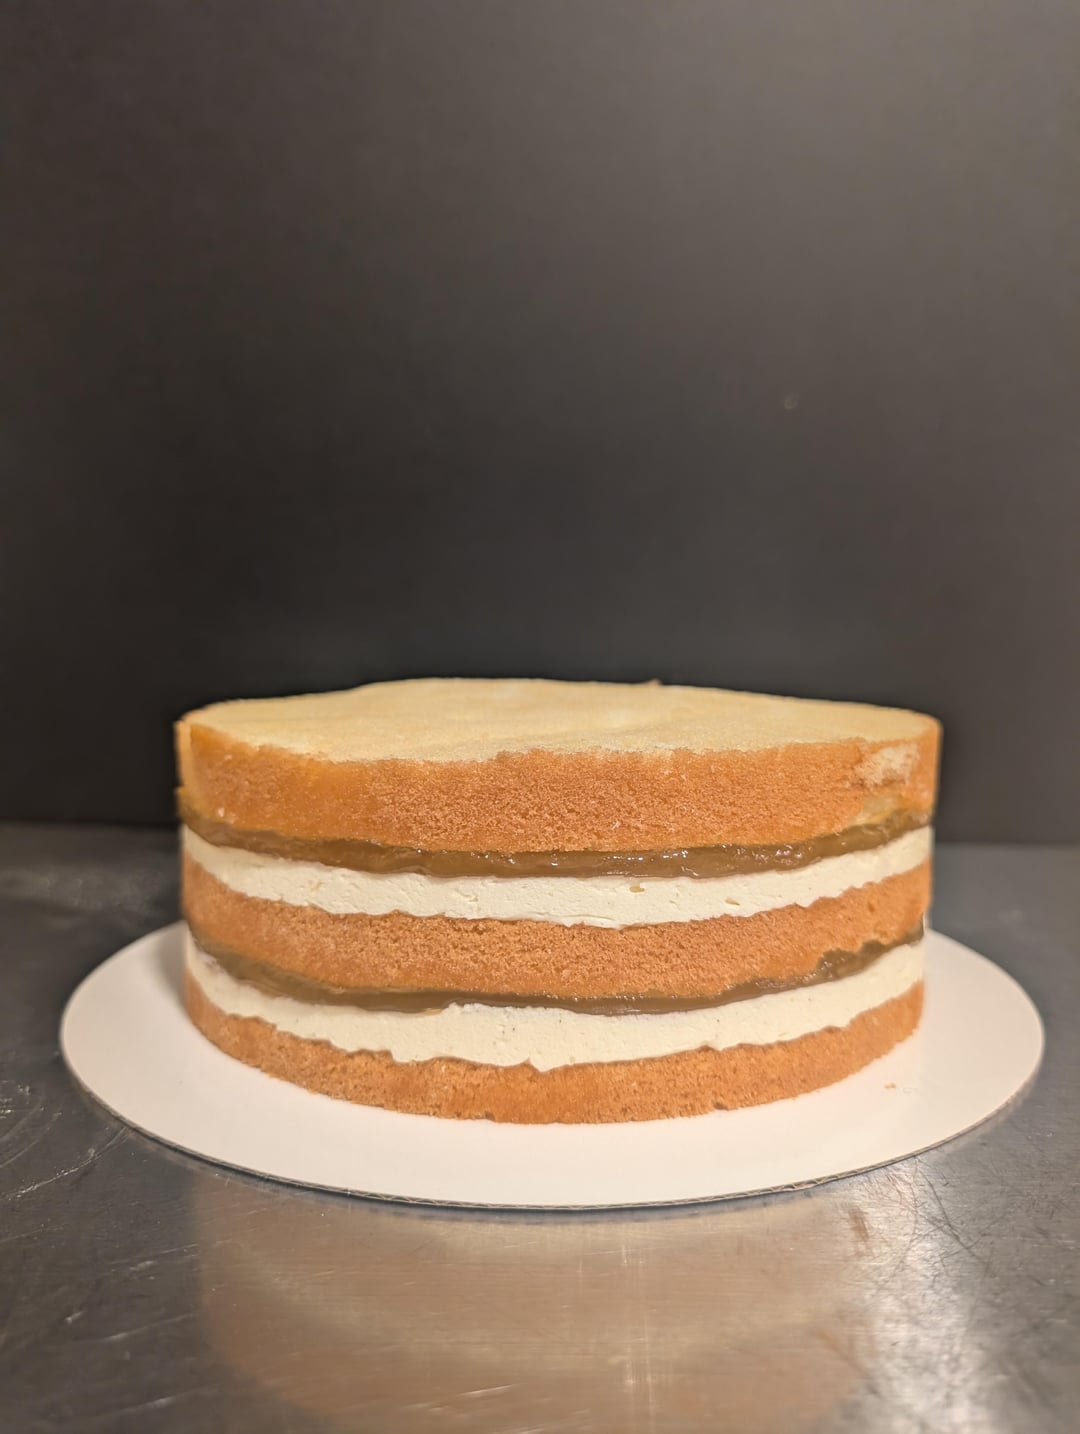
I was hoping to see the cross section to see how it compares to the inspiration drawing. The edge isn’t exactly the same thing although it does look close since you chose not to do a dam to hold in the jam layer.
Awesome post, love the recipe format and detailed explanation. But I will never do it myself 😁 that is just too much work.
beautiful cake inside and out, thanks for sharing the recipe as well 🙂
It looks fantastic